If you are interested in donating birthday or encouragement cards, please join me in making Cards for Cubs. You’ll be donating cards to foster kids who deserve to be encouraged, and receiving birthday cards.
You’ll need to register and send your cards by the end of March, 2025.
You do need to register before mailing your cards so they know how many to expect from you. The minimum cards you can donate in either birthday or encouraging cards is 10. And you’ll need to donate in increments of 10 cards. So you can donate 10 birthday and 20 encouraging, or like me, donate 20 encouragement cards.
If you have a big stash of birthday cards, they don’t need to be identical, please consider donating them, I know the kids will be happy.
Website is Cardsforcubs.org
How I made my cards. I used premade card bases I got years ago at Michaels that were 5 1/2″ tall by 4 1/4″ wide. I used color matched designer paper cut to 4″ by 5 1/4″ then took 20 of the card bases and glued the designer papers on top. I bought Angie Girl stamps from Unity Stamps link: https://tinyurl.com/46spmfffand stamped them on white cardstock then colored them with alcohol markers and copied them on my copier on white cardstock so I wouldn’t have to stamp and color them again. It makes it so much easier for me each year, as now I only have to cut them out and glue them to my cards.
I use slim foam strips https://tinyurl.com/4nn8ws9z to glue to the back of the girl images, chose where I wanted to place the girls, attached them, then glued the sentiments on the front as well. I also opened the card and ran a thin row of washi tape link: https://tinyurl.com/54e9zbpddown the right side of the card and added an encouraging sentiment sticker from a roll I bought on Temu, here’s the link:https://tinyurl.com/y2h7cubv
I hope you’ll join me in donating cards to Cards for Cubs.
Since I used everything from my stash, I have provided the closest matches to the supplies I could find. I wanted to make a lot of cards fast and easy. I think these cards turned out really cute. You can make a card in less than 5 minutes, even if you’re as slow as I am.
I started with pre-made card bases from Michaels and used a 6 x 6″ paper pad from Spellbinders called Dear Santa, no longer available. I cut decorated paper to 4″ x 5 1/4″ and glued it to the front of the A2 sized card bases from Michaels (similar ones linked below). Then I took one of the cardboard ornaments and used foam squares to attach it to the card. I added a sentiment with more foam squares and glued the fuzzy buttons on the first card with Glue Dots, stamped the back with the handmade by Sandy stamp, added washi tape to the envelope and called it done.
I found banners on Temu that would be so easy to turn into Christmas cards..You’d use a 5 x 7″ card base and glue one section of the Vintage Victorian Christmas banner https://tinyurl.com/5bnvmzsw to the front, centering it and adding a sentiment if it isn’t on the banner piece. You’ll still want to stamp the back of the card with your “made by” stamp and washi tape or put a sticker on the envelope.
If you use the Christmas banner https://tinyurl.com/bdex2ntb, you can add foam squares behind one section and attach it to the front of the card then use a sentiment and either some glittery brads or some buttons from your stash. Add washi tape or a sticker to the envelope and stamp the back of the card with “Made by” stamp.
Vintage Victorian Christmas banner: Use on a 5 x 7″ card base and each piece will cover most of the card front and you can trim the excess so top and side background is the same size. https://tinyurl.com/5bnvmzsw
I tried to find the fuzzy buttons on Temu, but couldn’t, sorry.
The nice people at Lifescraftart.com sent me dies for free to try out. I’m not affiliated with them so I am not paid if you buy products from them, but do get a
New customers can get 50% off following the info on their site.
To make the birthday card, I cut a card base 7″ x 10″ and then scored on the 10″ length at 5″ to make a 5 x7″ card front. I cut a 5 x 7″ blue mirrored card stock to glue to the front, then cut the background die on a 5 x 7″ matching blue glitter cardstock. I don’t recommend using glitter cardstock with intricate dies as they usually have an almost plastic backing on them and although the die cut through the paper well, the plastic was tough to pop out through the smaller holes.
I used Collall wet glue from Craftstash.us.com to glue the layers together and accidentally got some of the glue on the paper I was using to work on, and the back of the card got glued to the paper, so to fix this, I cut another 5 x 7″ white piece of cardstock and glued it to the back. I haven’t added the sentiment yet as the card was damp and I didn’t want my ink to smear.
I made a Halloween card using the mummy background die and I think I lost my mind, thinking somehow the mummy had cheeks I needed to color in…anyway, that card went into the trash after I showed everyone how bad I am at figuring out how to use a die if I don’t have a photo of the end result right in front of me.
Thanks to the kind people at Lifescraftart,com for sending me these tools. I absolutely LOVE the wire snips and will get a lot of use out of the die album.
I have used a LOT of different wire snips and this is the first pair I could actually snip with. I know I looked awkward doing it on the video, that isn’t the fault of the snips, it’s because my wrists are fused so can’t bend like others.
I went to a local paint/wallpaper store and asked if they had any outdated wallpaper sample books and they kindly gave me one. Apparently their books have expiration dates on them, so they are happy to part with them for free. I cut out a couple of pages from the book and measured the outside covers and used double sided tear tape ( link https://www.amazon.com/gp/product/B07RZFHS87/ref=ppx_yo_dt_b_search_asin_title?ie=UTF8&th=1) to attach the wallpaper to the album. The first strip of tear tape, I laid under the inside edge of the album as close to the center brads as possible, then removed the cover off the tape. I added several lines of tear tape to the underside of the wall paper but only took the cover off the first two strips closest to the first strip laid on the album. I found if you hold the album cover open flat, it’s easier to slide that wallpaper under the center piece then once I was sure the top and bottom were even with the edges of the album, I pressed down on the paper to ensure it would stay in place. I then removed the backing off of the rest of the tear tape and pressed it in place. NOTE: The back and front of the album may be a little different in width, so make sure you measure both wallpapers to ensure your pieces are long enough.
I used Frost King vent covers from Home Depot (sorry the price went up since I bought mine a couple of years ago as they’re now almost $9.) https://www.homedepot.com/p/Frost-King-15-x-8-3-Pk-Magnetic-Vent-Covers-MC815/100345609 I cut each to 6 x 9″ and slid them into the sleeves and they fit perfectly, even using two with the white sides back to back. When you haven’t put any dies inside the sleeves will magnetize to each other but once you put dies on both sides, they won’t.
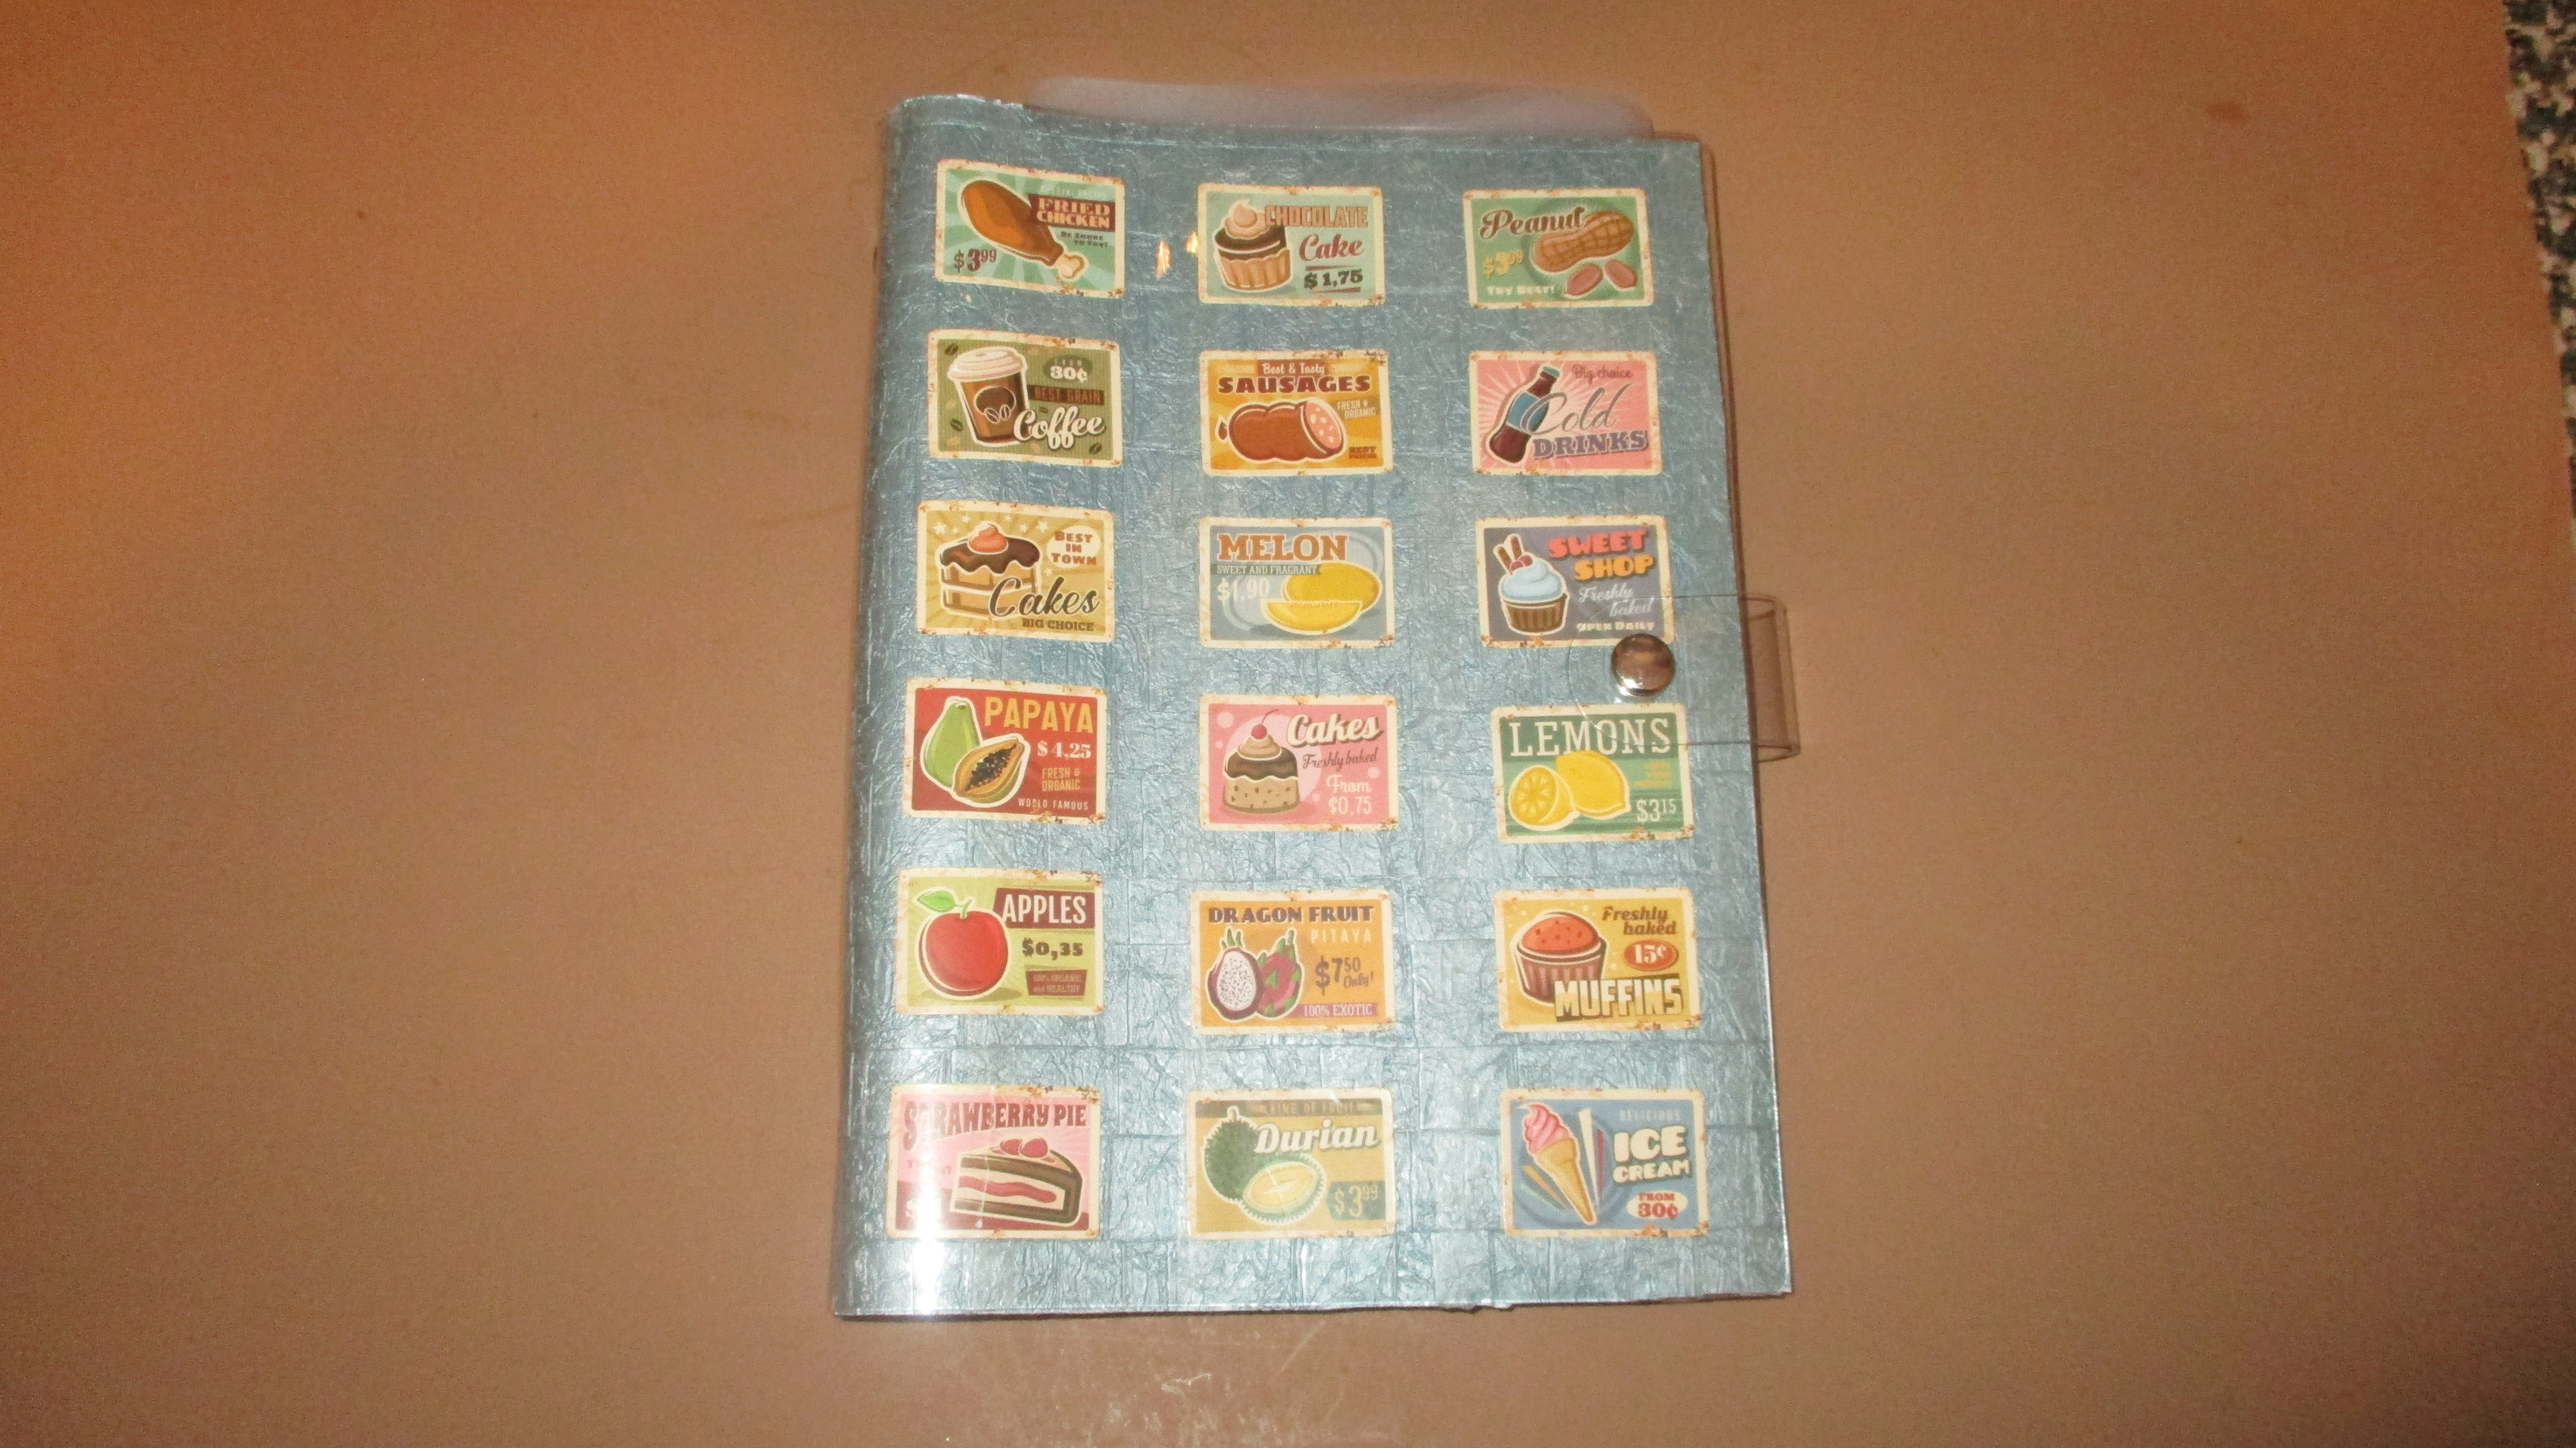
I recommend using tabs to divide your die sections by category but couldn’t find the link to them on Dollar Tree where I bought mine, but you still could find them in your local store. If not, you can always make your own tabs. The easiest way is to take a circle punch 1 1/2″ to 2″ and cut out white or light colored circles then fold them in half and glue them to the edge of the page with the flat edge sticking out from the page about 1/2″. I cut the magnetic vent covers to 6 x 9″ and adhered the white sides to each other then slid them into each of the 8 die sleeves that came with the album. You can buy different sleeves from lifescraft on the page where you order the cover. There’s a drop down box that allows you to change your sleeves from full pages to 1/2 page inserts so two dies fit per page or 4 to a page…the pages are the same size as mine, but you can slip smaller dies into them. I didn’t like the way the die storage album turned out, so added a bunch of vintage food stickers and now I’m happy with it.
I am making cards for twins who are graduating from high school. I chose to make the girl’s card in her college colors and her brother’s in their high school colors. Unfortunately the video clips for the red and black card were corrupted, so I can’t show how to make it, but I will tell you what I did. I took a beige and red napkin and removed the top layer and glued it to an 8 1/2″ x 5 1/2″ card base scored on the 8 1/2″ length at 4 1/4″ to make an A2 sized card. I used a glue stick to adhere the top piece of napkin to it. Here’s a video showing you how to separate a napkin from its backing and how to glue it to paper. https://www.youtube.com/watch?v=4L_Ph32J2dQ To separate a napkin from its backing, put a piece of washi tape on the back edge of the napkin leaving some tape hanging off the edge for you to grab. Grab the tape and gently pull it away and it should pull the backing of the napkin off with it. There are sometimes two extra layers and if they don’t both pull off with the washi tape, put another piece of washi on the back corner and gently remove it from the napkin, taking the extra paper with it. I used a Simon Says Stamp CZ Design Stamps and Dies called Grad Party for the sentiment and the graduation caps I die cut out of black cardstock. I used black grosgrain 1/2″ wide ribbon and put double sided tear tape on the back of it and adhered three lines of it in between the red lines of color. (His high school colors are red and black). I put some foam squares behind the graduation caps and glued them in the polka dot portion of the napkin and stamped a sentiment from the same stamp and die set on off-white cardstock then die cut it with an oval die from my stash. The blue and white card is a 5 x 7″ card base with a blue floral napkin glued to it with a glue stick. Here’s a video showing you how to attach a napkin to paper. https://www.youtube.com/watch?v=4L_Ph32J2dQ I attached the napkin to the front of the card base and cut the excess off the edges then die cut a circle near the top of the card in the center. I had a plastic piece of packaging that I thought would be fun for a shaker card and it had some white paper on the edges I couldn’t remove…so I used some artist tape from Blick.com link: https://www.dickblick.com/products/blick-artist-tape/?Color=Black& and surrounded the outer edge of the circle with it so when you see the edges of the plastic shaker, it looks more professionally done. I added tear tape to the top of the shaker component and then filled it with thin long blue beads and little white circular beads I had in my stash. I added another piece of card stock to the right inside of the card because my die cutting machine added a circular impression from the die, so I wanted to cover that mark. I also cut another 4 7/8″ by 7″ card stock and covered it with the same napkin. I covered the entire inside of the card with tear tape then glued the right side blank piece into the card. I inserted the shaker component and then added hot glue over the outer edges to ensure it would be well adhered to the paper I’m adding. I took the 4 7/8″ x 7″ napkin covered cardstock and gently laid it in place making sure the hot glue was well adhered to the center, then turned the card over to press the paper firmly in place. I used Hero Arts Congrats stamp and die set link: https://tinyurl.com/vnrxy7nu and die cut three “Congrats” from blue cardstock then glued them together. I took a Globleland die set (if you buy this set and use the code Sandy10, you’ll get 10% off…I’m not affiliated with them, but this set is a good one and fairly inexpensive) link: https://globleland.com/products/cutting-dies-diy-wh0309-778?s=sandy10 I used one of the smaller dies and cut it in off white and blue and snipped the blue on the diagonal so I could layer it behind the off white one and have the blue still show. I glued them together and adhered them to the bottom section of the front of the card and added some blue pearl flat back embellishments from my stash. I stamped with a dark blue ink a sentiment from the same Hero Arts Congrats set on the inside of the card.
Below you’ll find complete instructions as well as products used in making this video.
Carrie Kirby Create and I decided to use the same die set and show viewers two ways to use them. Here’s the link to her video. https://youtu.be/ZXhrNsOf84U
The nice people at Lifescraftsart.com sent me this die set but I am not affiliated with them.
I took a 5 x 7″ off white card base and used an olive green alcohol marker to color the edges about 1/4″ from the edge then using paper from Joann Park Lane Old World 6 x 8″ paper pad link: https://tinyurl.com/ypdajnm4, I cut a floral paper to 4 3/4″ x 6 3/4″ and glued it to the card base with Tombow Mono Aqua glue then cut another paper from the same paper pad that looks like a written letter, and die cut the envelope from it and glued it to the front of the card. I die cut several of the leaves from green paper from the same paper pad and die cut the flowers out of several colors of mirror cardstock as well as the written letter piece from the Old World paper pad. I started gluing the leaves into the open part of the envelope and covered as much of that section of the die cut as possible, then glued leaves toward the bottom of the envelope as well. After I felt the leaves were sufficient to cover the inside of the envelope, I started by gluing the flowers that are shaped like a shell all over the design, then once I used all of them, I took the flowers with the circle opening and thin foam tape strips link: https://tinyurl.com/48xp4tvw glued across the back to not only glue the flower to the card, but also to hold the center circle in place. I started by using one strip on some flowers, then added two strips to some, then three strips to some and places them strategically around the top portion of the envelope. I thought the flowers still needed something, so added flatback pearls and colored rhinestones to the centers of the flowers. I hope you’ll go to Carrie’s video to check out her take on this die. Neither of our channels are monetized and neither of us are affiliated with Lifescraftart.com
I was sent the dies from Globeland, but am not affiliated with them in any way. They are offering a discount to my viewers. It is a 10% discount using sandy10.
Globleland product link info: This is a great deal for $8.09 minus 10%, as you get three sets of layering dies…two sets have seven dies and one has eight, and all three have a different shape so your imagination can run wild. I realize the link has my coupon code in it, but I think it’s their way of tracking if any viewers bought something from my video and doesn”t mean I get any money in return. I think you still need to use the coupon code sandy10 when you check out to get the 10% off.
For the card I made onscreen, I started with a 5 x 7″ card base in beige and took the largest die from this set from Globleland and die cut it from the Old World paper pad (link is above.) I cut one of the smaller dies from the same set to lay the sentiment on out of beige paper. I used three strands of brown embroidery thread link: https://tinyurl.com/zwrzkp88 with an embroidery needle link: https://tinyurl.com/bdh4fenb. I think the next time I do this, I’ll use all six strands that come when you get embroidery thread so it’s easier to see.
Start by threading your needle and putting a line of tear tape on the back of the die cut paper near where you want to start stitching, then lay the very end of your embroidery thread on the tear tape to hold it in place and so you don’t have to tie a knot at the end of your thread. Then starting at the back of your paper, go through the first hole closest to your tear tape and pull the thread through then go down through the next hole, up through the next and continue until you’ve made a loop on the papers’ edge for each hole with thread. It helps if you hold the thread on the back to the left of where you are stitching so the thread is out of the way of your needle. Once finished, put another piece of tear tape down and lay the end of the thread in it and cut off the excess thread. I used the same stitching technique for the large die cut and the small one.
I had an outlined thanks die from Temu that’s no longer available and die cut the same background paper out of the die and then some green paper out of it so I could use the green paper for the words. I didn’t think the green really showed up well, so used a white gel pen and made dashes and dots on the left edge of each letter. I added some crystal sticky backed embellishments to add to the surround of Thanks. I then put thin foam strips link: https://tinyurl.com/5bf4z3n5 under the sentiment beige paper to adhere it to the center of the decorated paper. I used Tacky Glue on the back of the Old World paper and attached it centered near the right side of the card base. I added two 1/4″ strips of brown ribbon to the left of the Old World paper and called the card finished.
I used the same Old World paper on the other card with orange cardstock and the dies that have diamond cut outs in them. Because the diamonds are further apart than the other card’s die, I used a different technique where I brought the needle up through from under the paper through one diamond and down through the next diamond then up through the next diamond and down through the diamond I just came up through as there’s a gap if you don’t, and then continue around the card in this manner until you’ve completed the stitching. If you’d like to see me do this on camera, I’d be happy to.
I wanted to make a simple but fun card for our great nephew Finn, who just turned 2. I bought this paper pad last year from Echo Park, called Hello Easter. I was surprised to find that it is still available on Amazon and here’s the link: https://tinyurl.com/b74czmpd
I used one of the 12 x 12″ pages with a lot of smaller images on it and cut out a lot of them and then cut a matching 12 x 12″ paper down to 10″ wide by 7″ tall (make sure when you are cutting the 10″ length that the pattern is facing up and when you are cutting the 7″ length, the pattern is facing sideway. You’ll score the 10″ length at 5″ to create a 5 x 7″ card front. I found a cut out in the paper pad (link to see the cut out sheet https://tinyurl.com/4nf9d772if you move your cursor over the images near the bottom of the cover sheet, you’ll see the pages that have rectangular shaped sentiments and those are called cut outs.) that I liked and cut it out then rounded the corners with my Kadomaru Pro corner rounder from Amazon. I love this tool, it works like a dream even cutting through two layers of paper. I also rounded the two right corners on the card front.
I laid the cut out (which is the sentiment for the front of the card that comes in the paper pad that I explained in the info above) in the center of the card so I know which pieces I want to put on foam tape to surround this cut out. I added foam tape under all of the images that surround the cut out and made sure some were raised and still covered a little of the cut out like the rabbit at the bottom and the basket on the right side. The card is really cute in person because of all of the dimension, but kind of boring on camera since you can’t see how fun it is. For chicks with thin legs, I cut it without the legs and then by laying it in the right spot, the legs look like they are meant to be that way.
This paper pad comes with an entire sheet of stickers and I used one of those for the inside of the card as well as the sentiment “Hello Easter” that was at the top of each page in the pad in the section we normally discard.
Each year I participate in Cards for Cubs and encourage you to do the same. I’ve come up with a system to make as many unique cards as fast as possible. If I forget to list something, please email me saundralparker@yahoo.com, and I’ll try to figure out where I bought it..
It’s not too late to participate in Cards for Cubs, here’s their link: http://www.cardsforcubs.org If you aren’t familiar, Cards for Cubs gives encouraging and birthday cards for kids in foster care. I forgot to mention in my video that I focus on older girls as I think they benefit the most from encouragement, and I primarily make encouraging cards. You don’t write anything inside, as they are to be given to the kids from people working in the foster care system. We are there to provide cards. If you have a stockpile of birthday cards, I know they would appreciate them. The minimum number of cards you can send is ten and they ask to have them in quantities of tens.
The stamped lady images are all from Unity Stamps from their Angiegirl collection. I didn’t realize until today that they make Angie men, so I might add some men to my collection for next year’s Cards for Cubs. Here’s a link to find them easier..they have 117 stamps in the Angiegirl stamps. Link: https://tinyurl.com/22emz4pd
To make the process of making cards easier, I get all of the components I’m using out and put them in piles. On the left side of my desk is the stack of card bases from Michaels and Hobby Lobby. The card bases I wanted to use this year are primarily pink and navy blue, so I colored my girls so they all wear either pink or dark blue. I colored them on card stock and ran them through my copier and keep the originals to use again next year. This is a HUGE time savings. NOTE: Don’t use colored cardstock for copies as it changes the colors and makes them splotchy. I don’t know why, but cream colored cardstock created splotchy images…Only use white cardstock for coloring, is the lesson I learned this year.
I found embellishments that would look good on the card bases I’m using and put them in a stack along with sentiment stickers I got from Temu, links are below.
Women fashion stickers: https://tinyurl.com/556tpukr I couldn’t find any of the vellum ladies fashion stickers online now, sorry.
To make tea dyed papers, I took an old, brittle book, and Walnut Stain Distress Oxide ink and laid the ink pad on the book on pages that had only writing to ink them, and then sprayed it with water and used a blending brush to move the ink around, then let it dry.
I used a variety of ribbons and gem stickers to add to the cards.
Spinning bird card: I took an A2 sized card base and laid a piece of patterned paper that is 5 1/4″ x 4″ on top and then laid a larger die over them near the center. Don’t attach the patterned paper as you’ll need to put string under it later. I put a small piece of washi tape to hold the patterned paper where I wanted it then die cut the sun shaped die out of the center by opening the card base when running it through my machine. Once the sun was cut out, I took a piece of gold string and glued the front and back of the bird to it. My stamps are specific to this kind of card but any image that can mirror itself like a tree, hot air balloon, butterflies link: https://tinyurl.com/39hbbm5z or dragonflies that are the same shape if you attach them back to back like this one, link: https://tinyurl.com/2abxnab5 will work. Color your image and cut them out then put them back to back to make sure they are the same shape and size and then put glue on them and run the string through the center of the stamps and make sure they are well adhered to themselves and the string. The string needs to be long enough to run through the center of the card from top to bottom. Then lay the string in the center of the opening under the designer paper and glue the designer paper down with the string laying taut. To make it spin, you’ll turn it a bunch of times and then close the card. When the recipient opens the card, the image will spin.
I made a card for my friend who was turning 90 and was under impressed with the way it turned out, so decided to make one that was more fitting for a woman of 90. Her birthday party had to be postponed because we got covid and then she got a compression fracture in her back. By the time we had the party, I was walking again (after my fall in July and surgery that didn’t heal.) I think seeing me walk made her day special, and she talked about it then and called me later to tell me how much it meant to her, which made the day special for me.
To make this 5 x 7″ card, I started by cutting gold mirror cardstock link: https://tinyurl.com/mwbxm4xk measured 5 x 7″ and cut the inside to 4 1/2″ x 6 1/2″ so I had a frame to cover the outside of the card. I used a card base that is 5 x 7″ and off white, then added a piece of rust designed paper cut to 4 3/4 x 6 3/4″ from Joanns Park Lane Old World 6 x 8″ link:.https://tinyurl.com/ypdajnm4. I used vellum link: https://tinyurl.com/yfb8mrjt cut to 4 7/8 x 6 7/8″ and put it in my Misti with a Stampendous Jumbo Rose stamp link: https://tinyurl.com/3p5mj4zfand Ranger Dorado Gold embossing power. I couldn’t find it online, but their gold embossing powder works great too…link: https://www.joann.com/ranger-embossing-powder/13812920.html I stamped and heat embossed the image three times on the corners of my vellum, then filled in the places I accidentally wiped away with my brush with a Versamark marker link: https://www.joann.com/versamarker-watermark-resist-marker/6605828.html. I originally intended to use three colors of alcohol markers but in the end, decided to use only one color, a dark red. The darker the color you use, the better. You’ll color on the underside of the embossing, and this is really crucial. If you have any issues with too much ink or lines in your image, use some rubbing alcohol and a brush or a piece of cloth to dab it to clean it up. I die cut a 90 in gold mirror cardstock from this die set https://tinyurl.com/y2s5ubn4and a tree limb die link: https://tinyurl.com/2p5a94t5 NOTE: This die is similar to mine but not the same. I put foam tape under the 90 and before placing it, added tree branches wherever there was room and then laid the 90 on top. I put tear tape on the four sides of the back of the vellum then laid it on the card base, then added the gold frame I cut on top using tear tape behind it. I used a big Happy Birthday die cut sentiment link:https://tinyurl.com/32h5rw69 in gold foil paper to the inside of the card and used my Xyron link: https://tinyurl.com/3zu5c52n to glue the back. If you like the idea of the Xyron, you might want to go with the 3″ version, as it’s still being made, whereas the 1 1/2″ wide doesn’t seem to be. Here’s the link: https://tinyurl.com/5n6d722x.
I’m sure you already know this, but I’m not affiliated with any company and only give you links so you know exactly what tools/products I’m using.

