Thanks to the kind people at Lifescraftart,com for sending me these tools. I absolutely LOVE the wire snips and will get a lot of use out of the die album.
Discount code: SANDY25
Die storage album: https://lifescraftart.com/products/lifescraft-a5-stamp-and-die-storage-album
Pliers/wire snips: https://lifescraftart.com/products/lifescraft-hand-diy-diagonal-pliers-tool
I have used a LOT of different wire snips and this is the first pair I could actually snip with. I know I looked awkward doing it on the video, that isn’t the fault of the snips, it’s because my wrists are fused so can’t bend like others.
I went to a local paint/wallpaper store and asked if they had any outdated wallpaper sample books and they kindly gave me one. Apparently their books have expiration dates on them, so they are happy to part with them for free. I cut out a couple of pages from the book and measured the outside covers and used double sided tear tape ( link https://www.amazon.com/gp/product/B07RZFHS87/ref=ppx_yo_dt_b_search_asin_title?ie=UTF8&th=1) to attach the wallpaper to the album. The first strip of tear tape, I laid under the inside edge of the album as close to the center brads as possible, then removed the cover off the tape. I added several lines of tear tape to the underside of the wall paper but only took the cover off the first two strips closest to the first strip laid on the album. I found if you hold the album cover open flat, it’s easier to slide that wallpaper under the center piece then once I was sure the top and bottom were even with the edges of the album, I pressed down on the paper to ensure it would stay in place. I then removed the backing off of the rest of the tear tape and pressed it in place. NOTE: The back and front of the album may be a little different in width, so make sure you measure both wallpapers to ensure your pieces are long enough.
I used Frost King vent covers from Home Depot (sorry the price went up since I bought mine a couple of years ago as they’re now almost $9.) https://www.homedepot.com/p/Frost-King-15-x-8-3-Pk-Magnetic-Vent-Covers-MC815/100345609 I cut each to 6 x 9″ and slid them into the sleeves and they fit perfectly, even using two with the white sides back to back. When you haven’t put any dies inside the sleeves will magnetize to each other but once you put dies on both sides, they won’t.
I recommend using tabs to divide your die sections by category but couldn’t find the link to them on Dollar Tree where I bought mine, but you still could find them in your local store. If not, you can always make your own tabs. The easiest way is to take a circle punch 1 1/2″ to 2″ and cut out white or light colored circles then fold them in half and glue them to the edge of the page with the flat edge sticking out from the page about 1/2″. I cut the magnetic vent covers to 6 x 9″ and adhered the white sides to each other then slid them into each of the 8 die sleeves that came with the album. You can buy different sleeves from lifescraft on the page where you order the cover. There’s a drop down box that allows you to change your sleeves from full pages to 1/2 page inserts so two dies fit per page or 4 to a page…the pages are the same size as mine, but you can slip smaller dies into them.
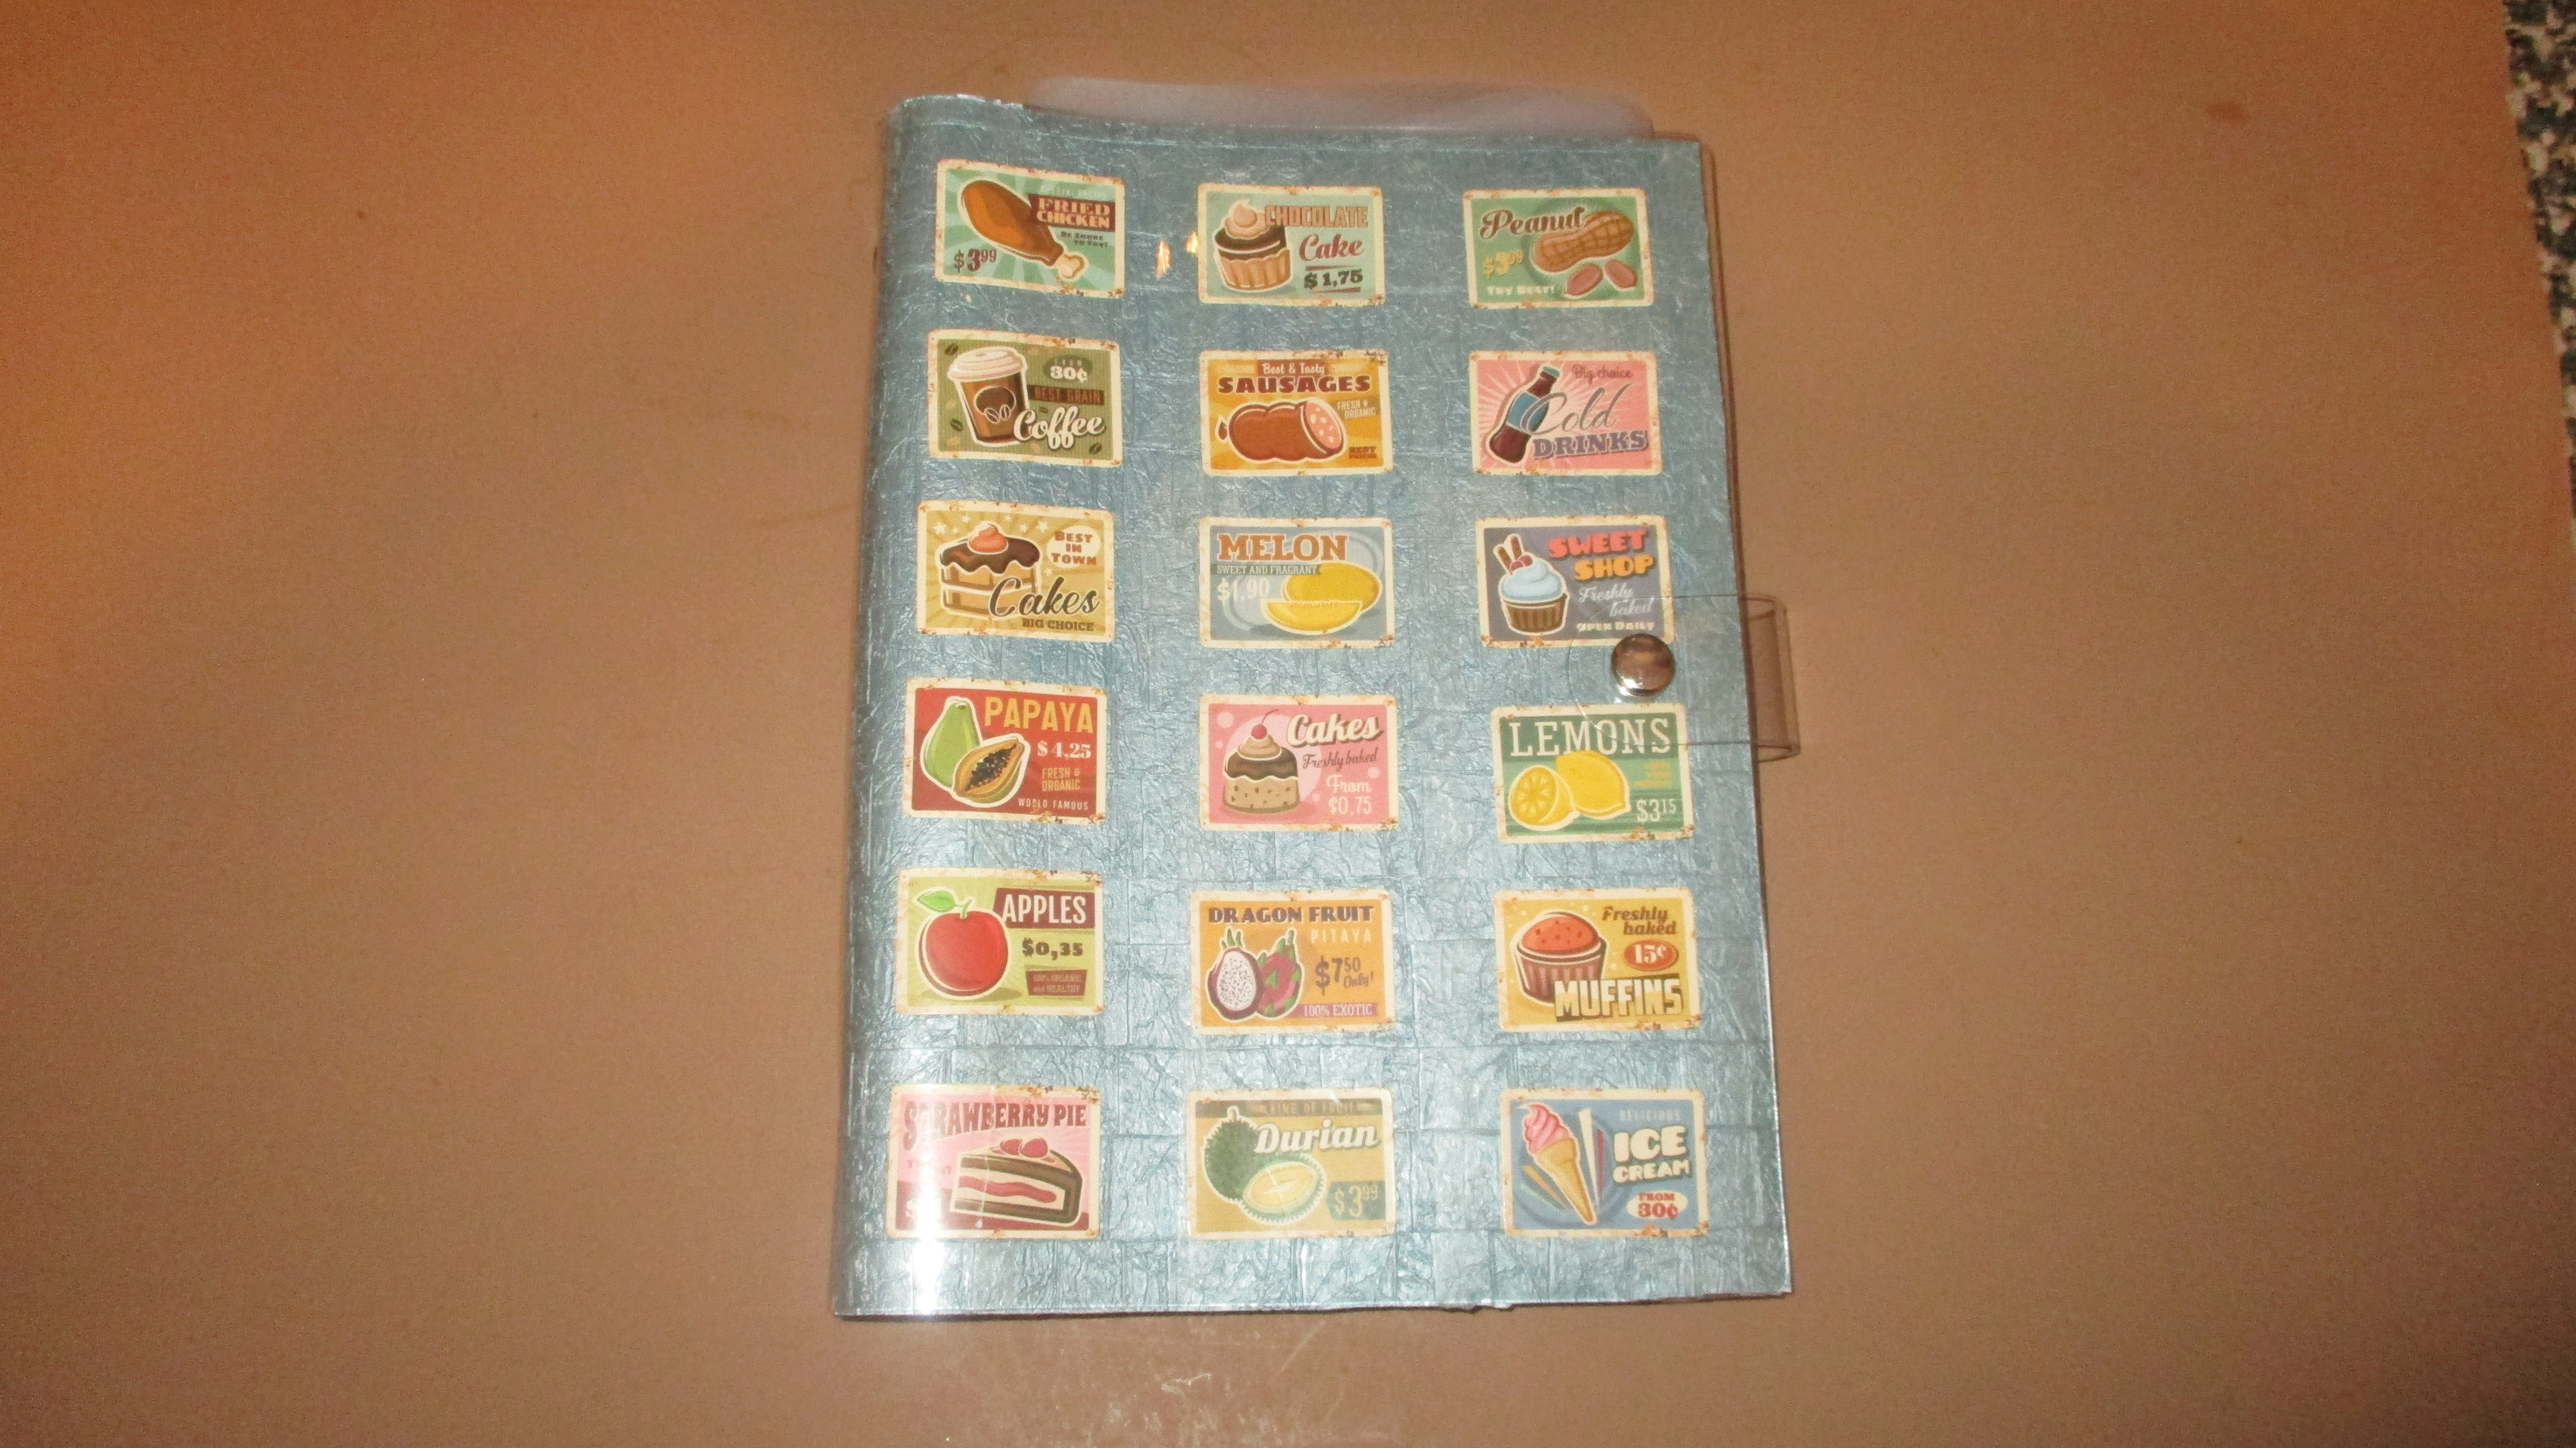
I didn’t like the way the die storage album turned out, so added a bunch of vintage food stickers and now I’m happy with it.