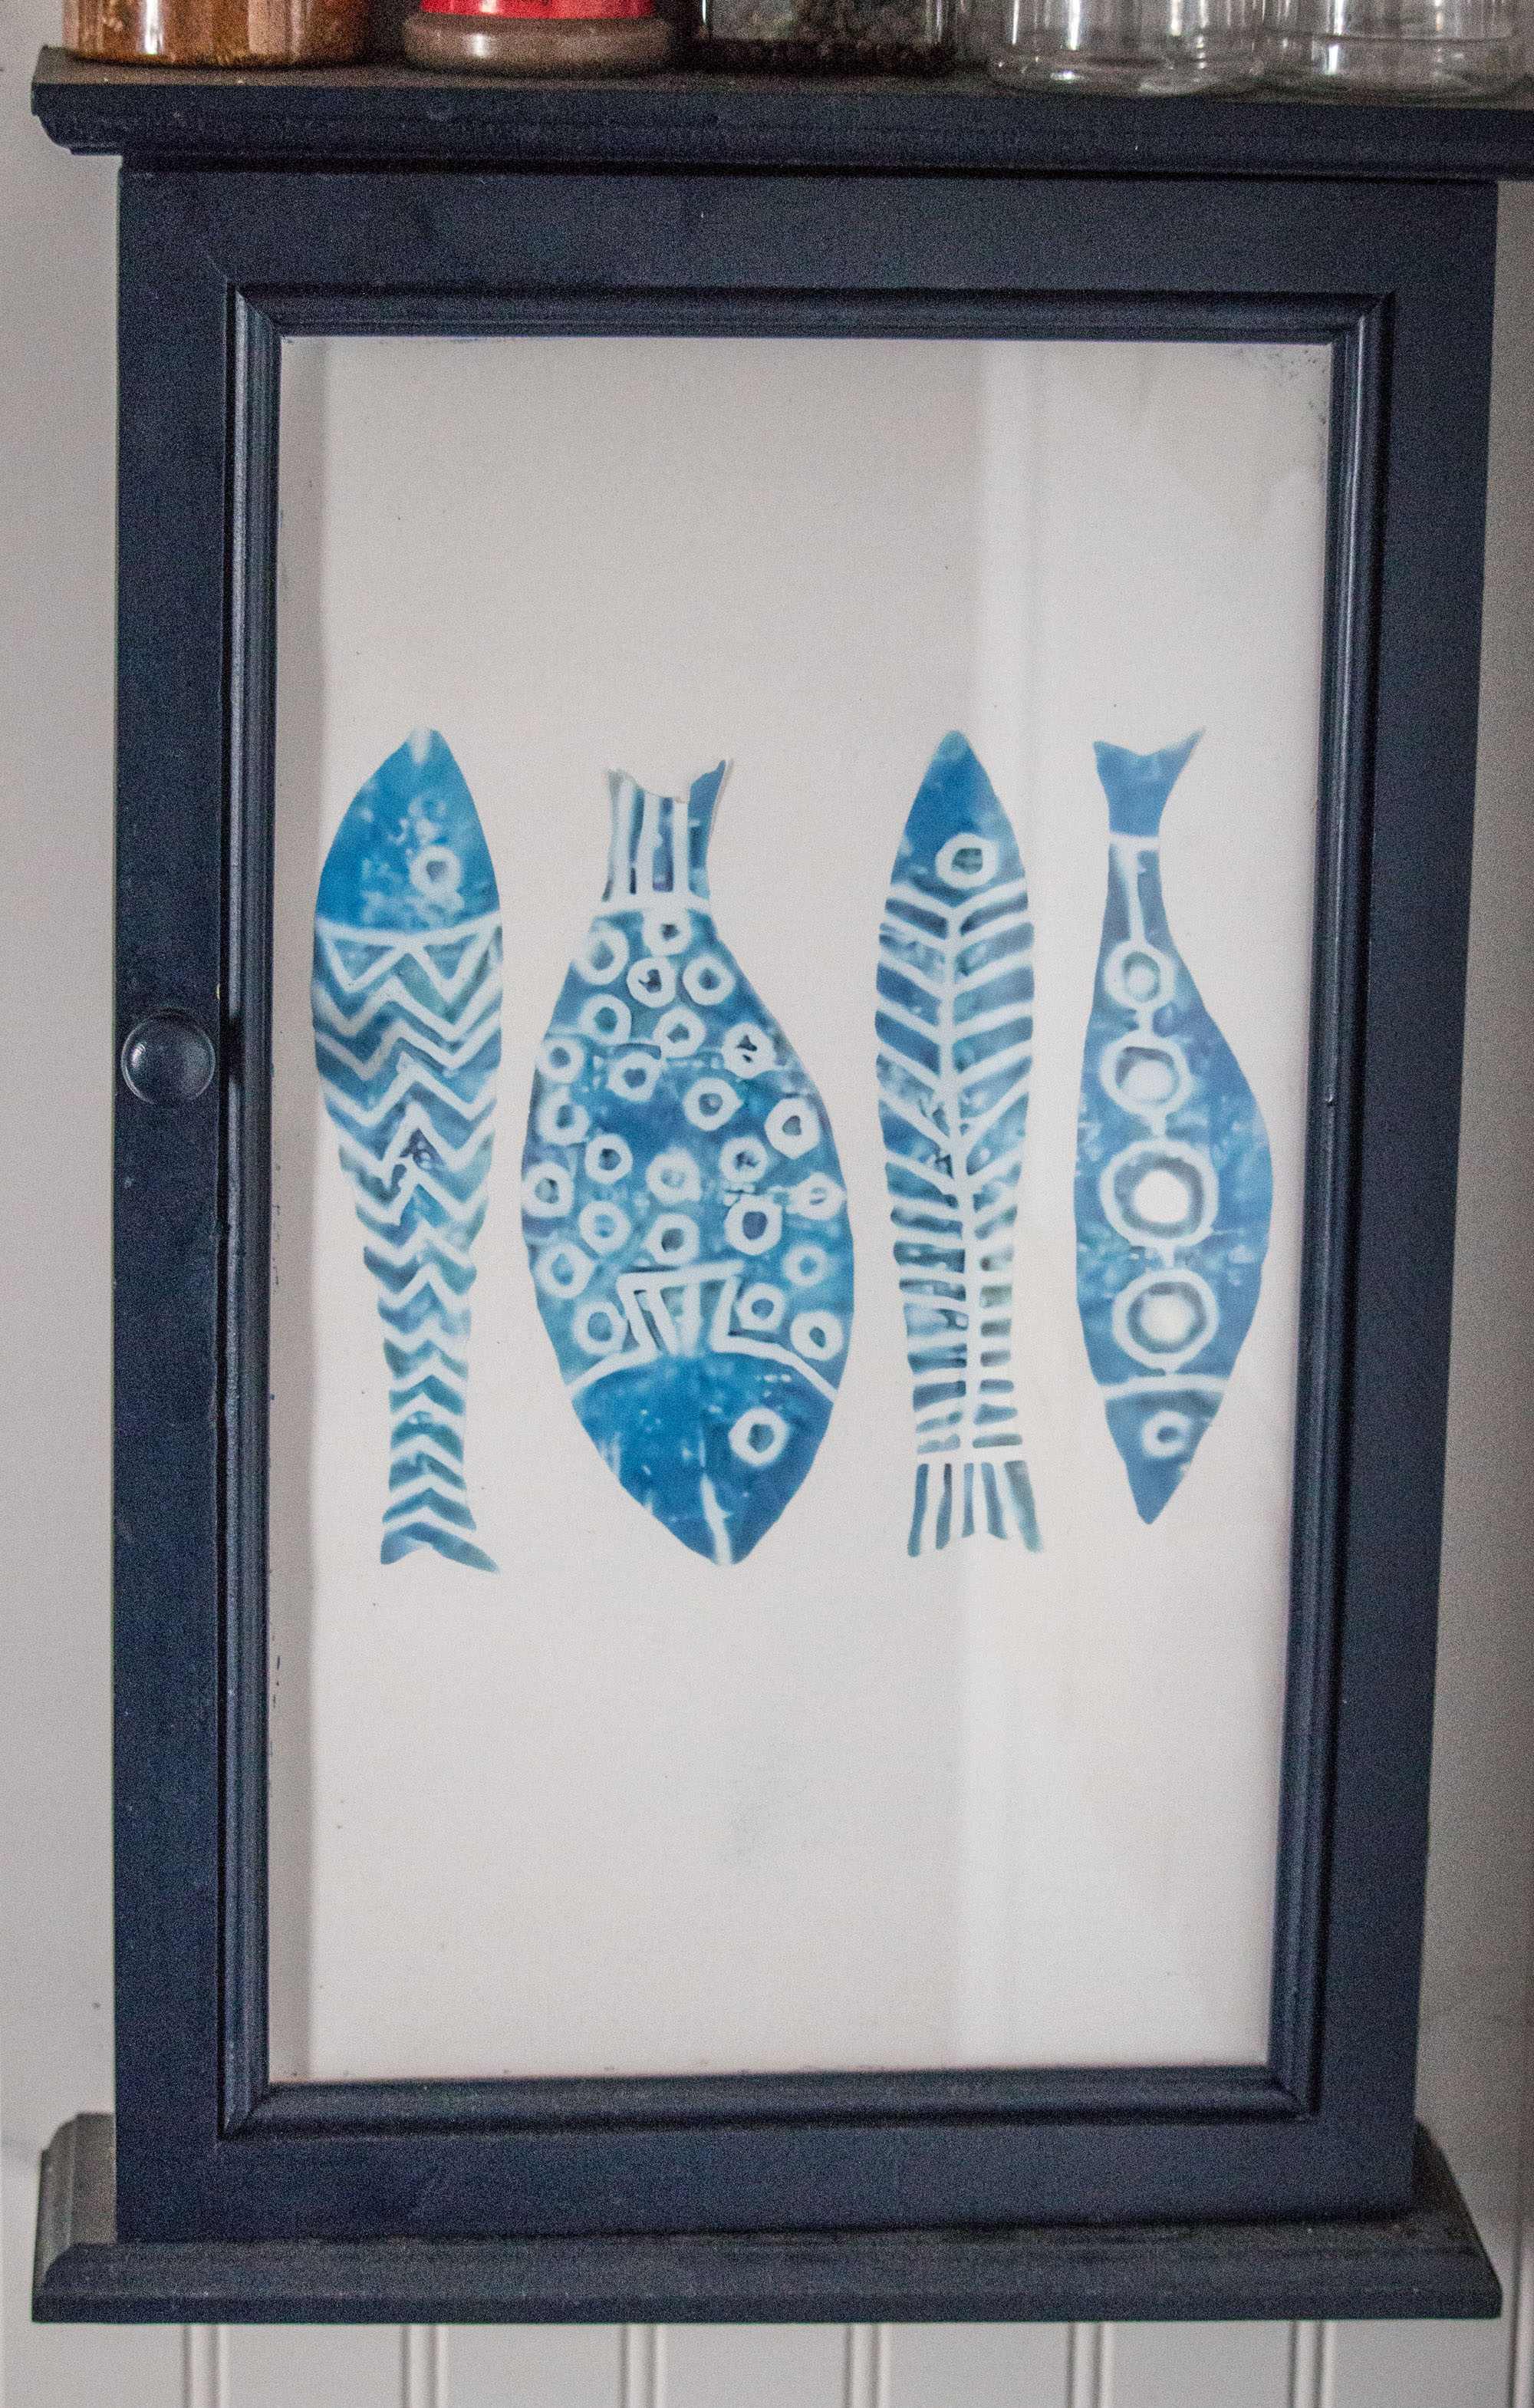
I know I promised no more shaking camera, but unfortunately, I’d done this project first and then immediately lost the camera with the memory card inside, so I thought it was probably lost forever. Yesterday, trying to clean a little bit of my craft room, my camera turned up in a box that I normally would never have looked inside. So sadly, that gives us one more shaky video…so now I really mean it when I say I won’t put up any more shaky videos.
Below you’ll find a link to the Iron On I purchased, as well as how to attach an iron on to thick paper or poster board.
Link to iron-on from Temu: https://tinyurl.com/ycy9m83e
Before using your iron-on, place it where you want it on your posterboard/cardboard or cardstock. I made sure my posterboard was the right size to place inside the glass door of a vintage spice cabinet I’d bought at an estate sale. Then I centered the fish so when placed inside the cabinet, they would be centered top to bottom and side to side. Take your iron-on and place it face down on the surface you are ironing it to. Put a piece of parchment paper over the image making sure the entire image is covered by it. Put your iron on a high setting, without using steam, and make sure it is hot before going further. You’ll want to rub the iron over each fish in turn, making sure to cover each fish. Keep the iron moving, as it will burn the parchment paper and may also scorch the paper/poster board beneath. Once you think the fish are all well adhered, SLOWLY remove the parchment and the paper beneath, making sure to check that each fish has successfully transferred to surface you’d like it to attach to. While removing the paper, if you see part of the design hasn’t transferred, stop and put the paper layers back down and iron again, making sure to only iron the areas that didn’t transfer. Then remove the papers again, slowly, to ensure the rest has transferred.
I was really happy with the spice rack once I inserted the posterboard and pinned it in place and will definitely use this technique in the future, as it was SO simple.